.jpg)
Welcome to the ultimate guide on setting up your Trezor hardware wallet using Trezor.io/start. The process is simple and ensures that your digital assets are secured with the highest level of encryption.
Getting Started with Trezor.io/start (Version 22.9.3)
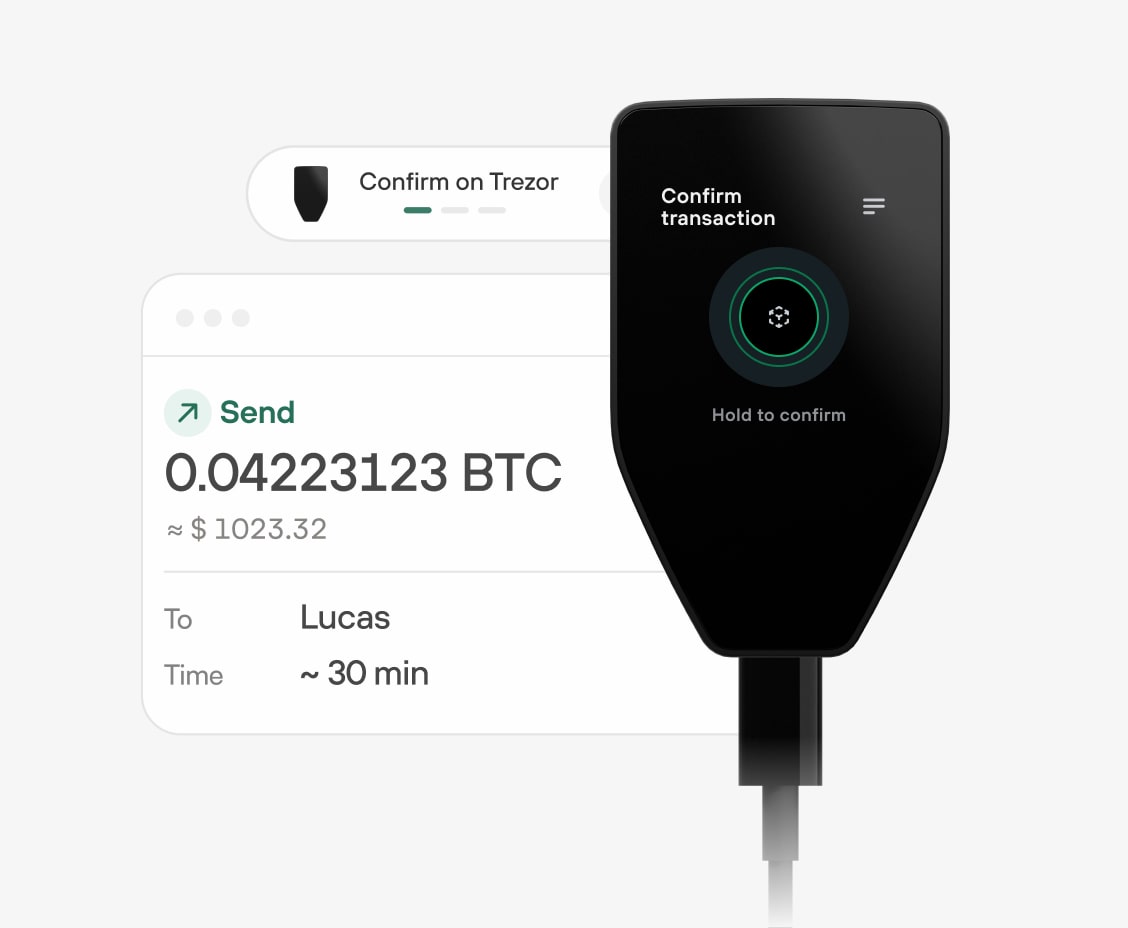
First, connect your Trezor device to your computer. Visit Trezor.io/start and follow the on-screen instructions to install the Trezor Bridge. This application allows your computer to communicate with your Trezor device seamlessly.
Next, create a new wallet or recover an existing one. Trezor.io/start offers easy-to-follow steps to ensure your setup is flawless. Make sure to write down your recovery seed on a piece of paper and store it in a secure location. This seed is your lifeline to accessing your funds in case of any issues.
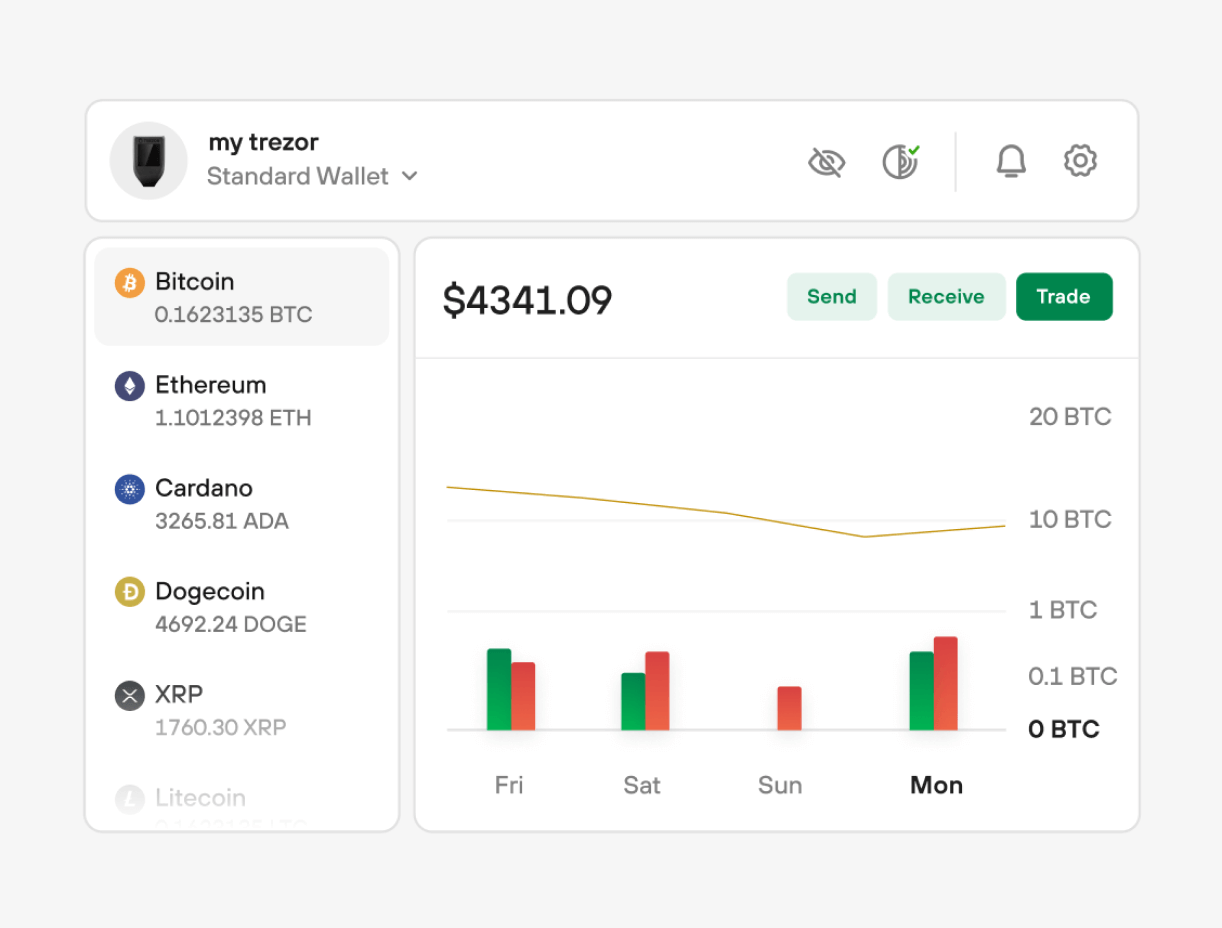
Once your wallet is set up, explore the features of Trezor Suite. This platform provides advanced functionalities for managing your crypto assets. Whether it's sending, receiving, or staking cryptocurrencies, Trezor.io/start guides you through every step.
Why Choose Trezor.io/start?
Trezor.io/start is the trusted gateway to ensuring the safety of your digital assets. With a user-friendly interface and robust security features, it’s the go-to resource for new and seasoned users alike.
Ready to take the next step? Visit Trezor.io/start and begin your journey towards ultimate crypto security today.
For more information and advanced troubleshooting, check out our detailed guide on docs-io-trazor.github.io.